

Shooting handheld on a camera is an essential tool to have as a filmmaker. Even if you have tripods, gimbals, sliders, or other stabilizing tools, handheld shots can create more natural motion than those other tools. Additionally, you might need to work on a project that requires you to shoot in tight spaces, where you really only have room for your hands and a camera. That’s why it is important to always be able to shoot handheld.
If you don’t feel comfortable shooting handheld on your camera, then here are some tips to get you started.
Internal Settings
Before you start shooting in general, and especially handheld, you want to make sure you have all your internal camera settings dialed. One of those important choices is choosing what format and frame rate to shoot at. Depending on the video, we generally recommend shooting high resolution at higher frame rates for handheld like 60fps. This will require a lot of memory space, but you can always slow down your shots in post to get smoother movement when you shoot at higher frame rates.
Additionally, most newer cameras have different kinds of internal stabilization, and it’s important to be deliberate about when you use it. Most internal stabilization settings are great for static shots without much movement. This means internal stabilization is great for shots where you’re standing still with the camera or following a slow deliberate path of movement. However, if you’re going to be filming shots with lots of movement, then you want to turn internal stabilization off in your camera to avoid any image distortion.
Camera Lenses
Another important aspect of shooting handheld videos is knowing what lenses to use with your camera. Because you’re more likely to have small shakes and subtle movements when shooting handheld, you want to use a wider angle lens to hide these micro-movements. We suggest trying out different lenses and finding what works best for you, but we find it’s helpful to stick to lenses 35mm or wider. The only downside to this is that you usually need to get much closer to your subject for tighter shots, but because you’re shooting handheld, you should hopefully be able to do this without much problem.
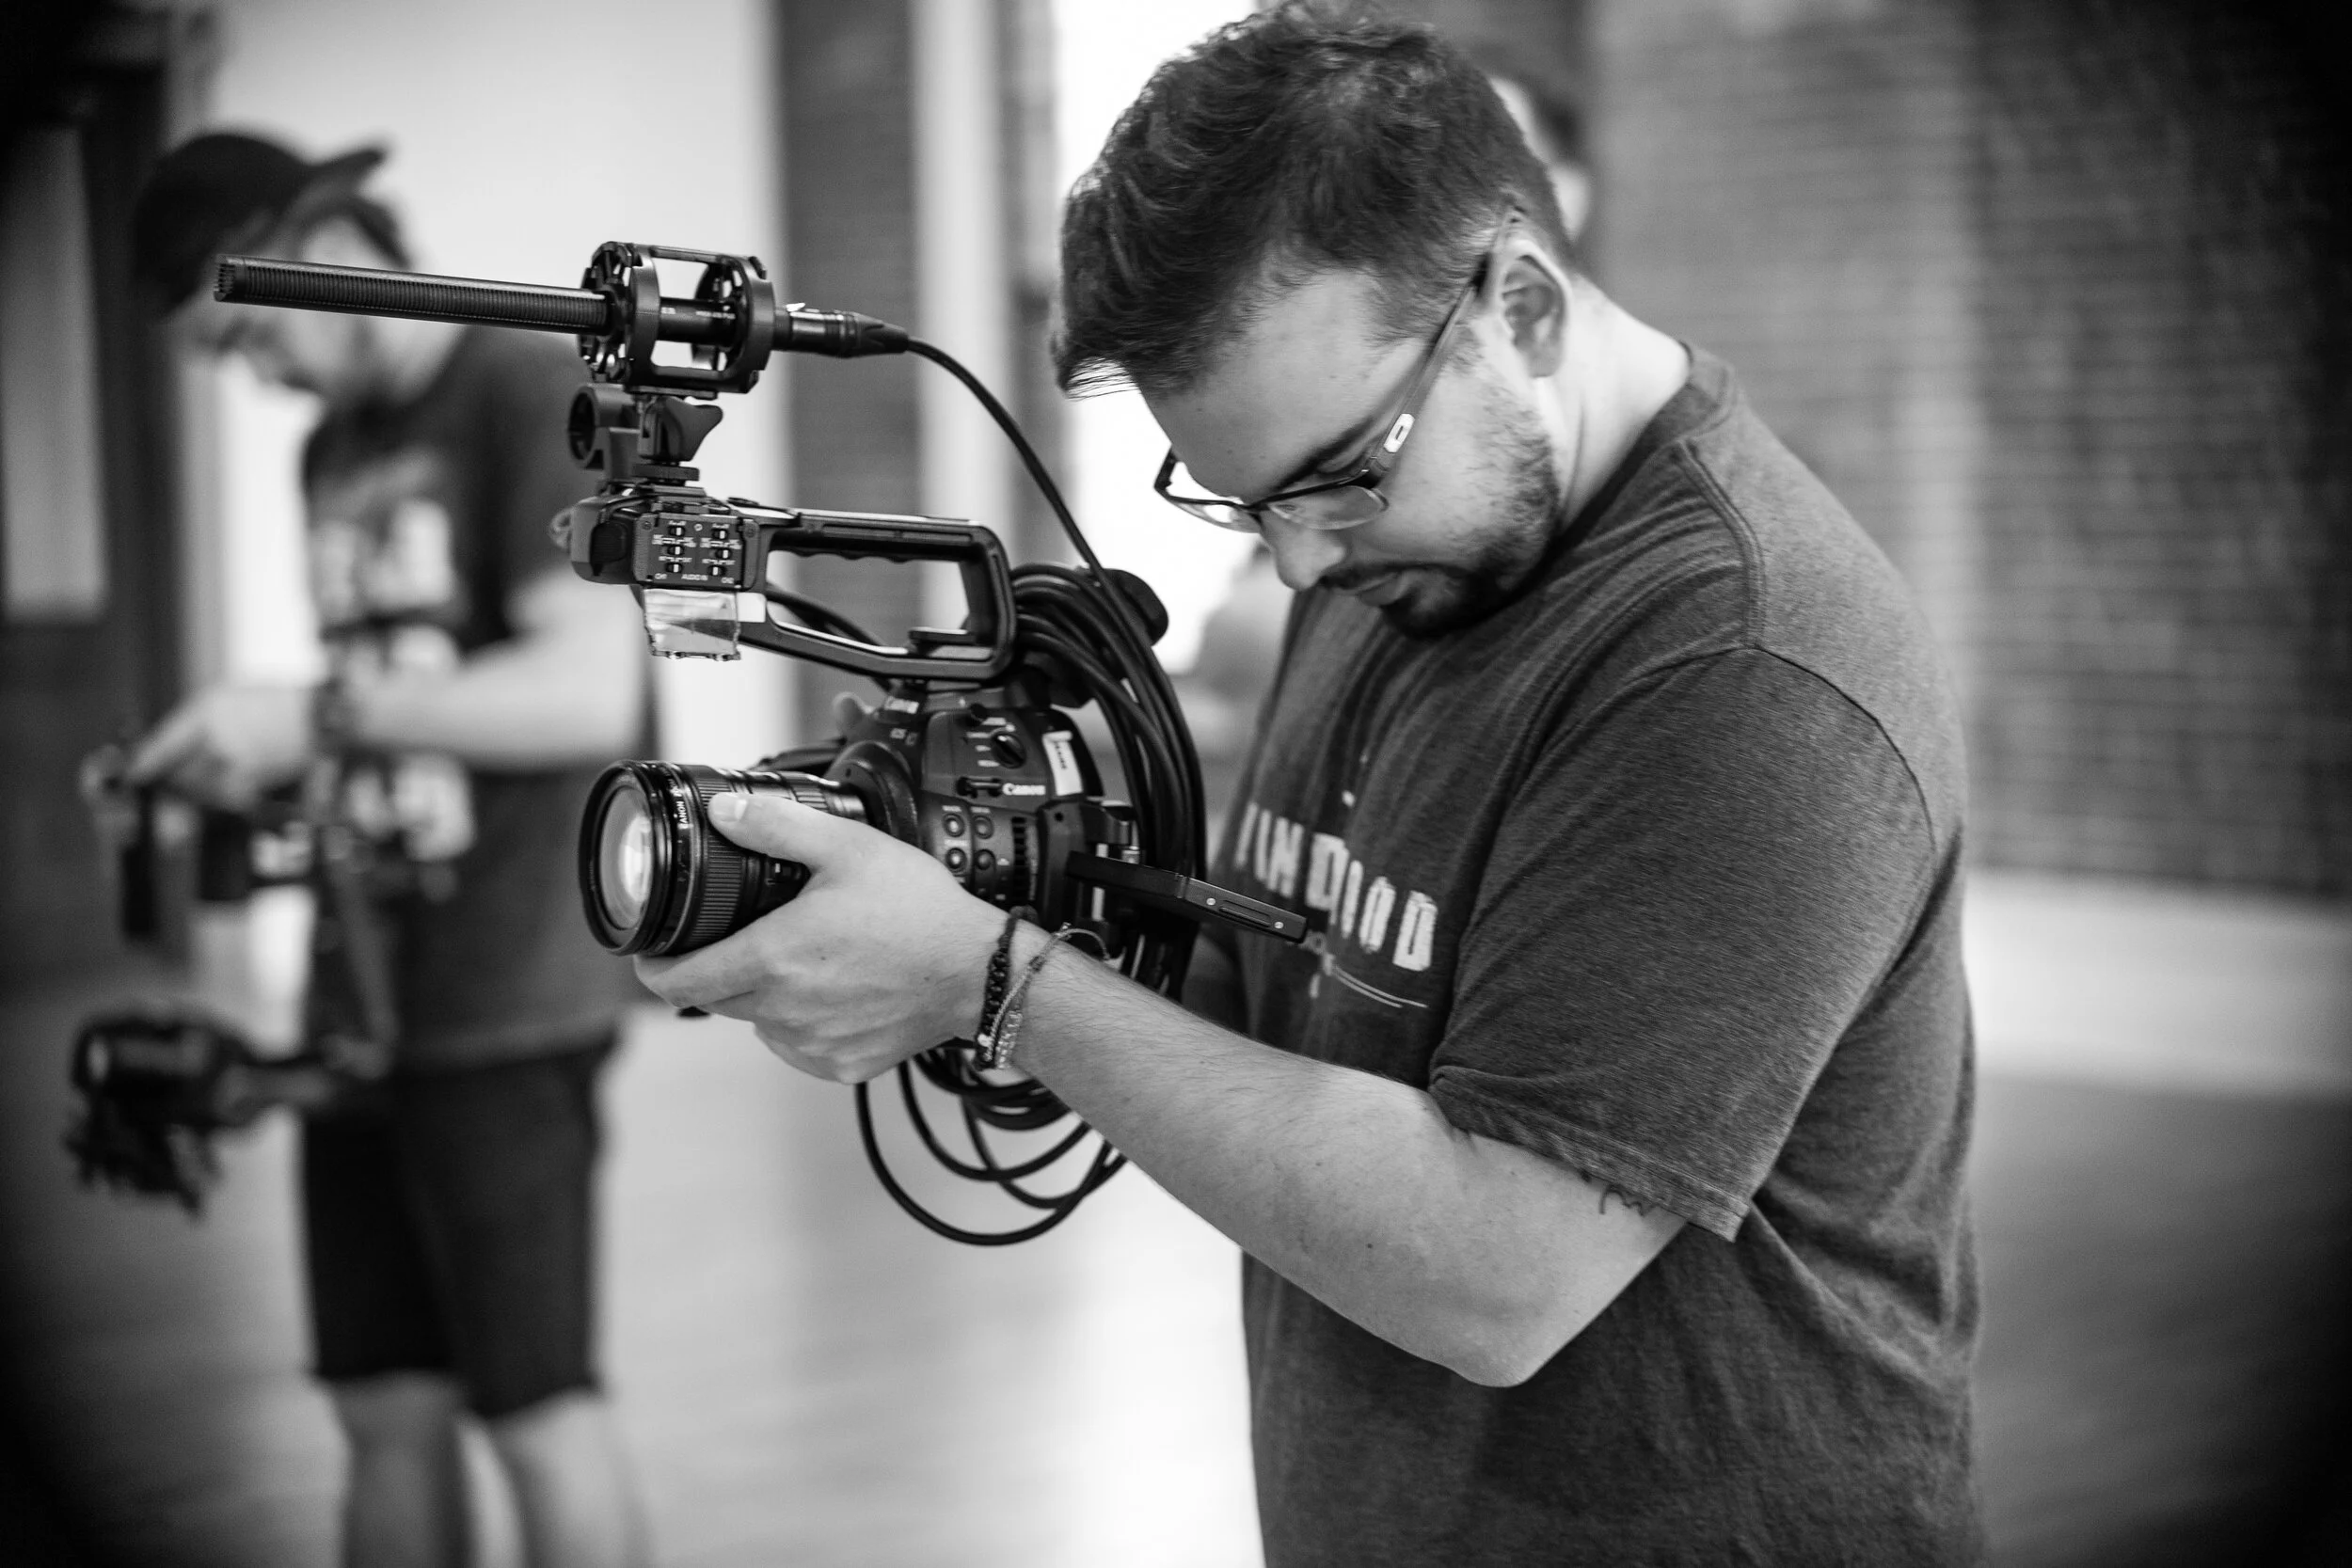
Grip and Support
Once you have your camera settings and lenses ready, you need to get comfortable actually holding and supporting your camera. We recommend placing one hand on the actual grip of the camera and then your other hand underneath the lens. Depending on the camera, you can also brace it against one of your arms or your chest for even stronger support. If none of these options work for you, you can also purchase a cage for your camera with additional grips.
Decisive Movements
The last step is to plan out decisive camera movements for all of your shots. This doesn’t mean you need your camera to be moving in every single shot, but rather that you should plan and choose what kinds of movements you’re going to do. If you want one shot to be stationary, then be stationary. If you want a pan or tilt, then plan a pan or tilt. Because you’re working handheld you need to be confident with your movements, and often move your whole body to get smooth shots.
Now the best thing you can do is go out there and actually practice. Get used to using your camera and experimenting with different techniques. You want to be ready so that on your important shooting days, you’re prepared and confident with your camera.
If you’re still confused, check out some of our work for examples, or contact us for help with your own project.