

A crucial aspect of visual work, photography or videography, is getting the right lighting on your subject. Especially if you’re working in a studio, you should have full control over the look of your subject, because lighting can make a huge difference in transitioning your photos or footage from looking amateur, to looking professional.
However with lighting, like any creative endeavor, there is not one correct answer, but a number of effective ways to approach different situations. To get started, here is a list of some basic lighting tips and styles.
Basics
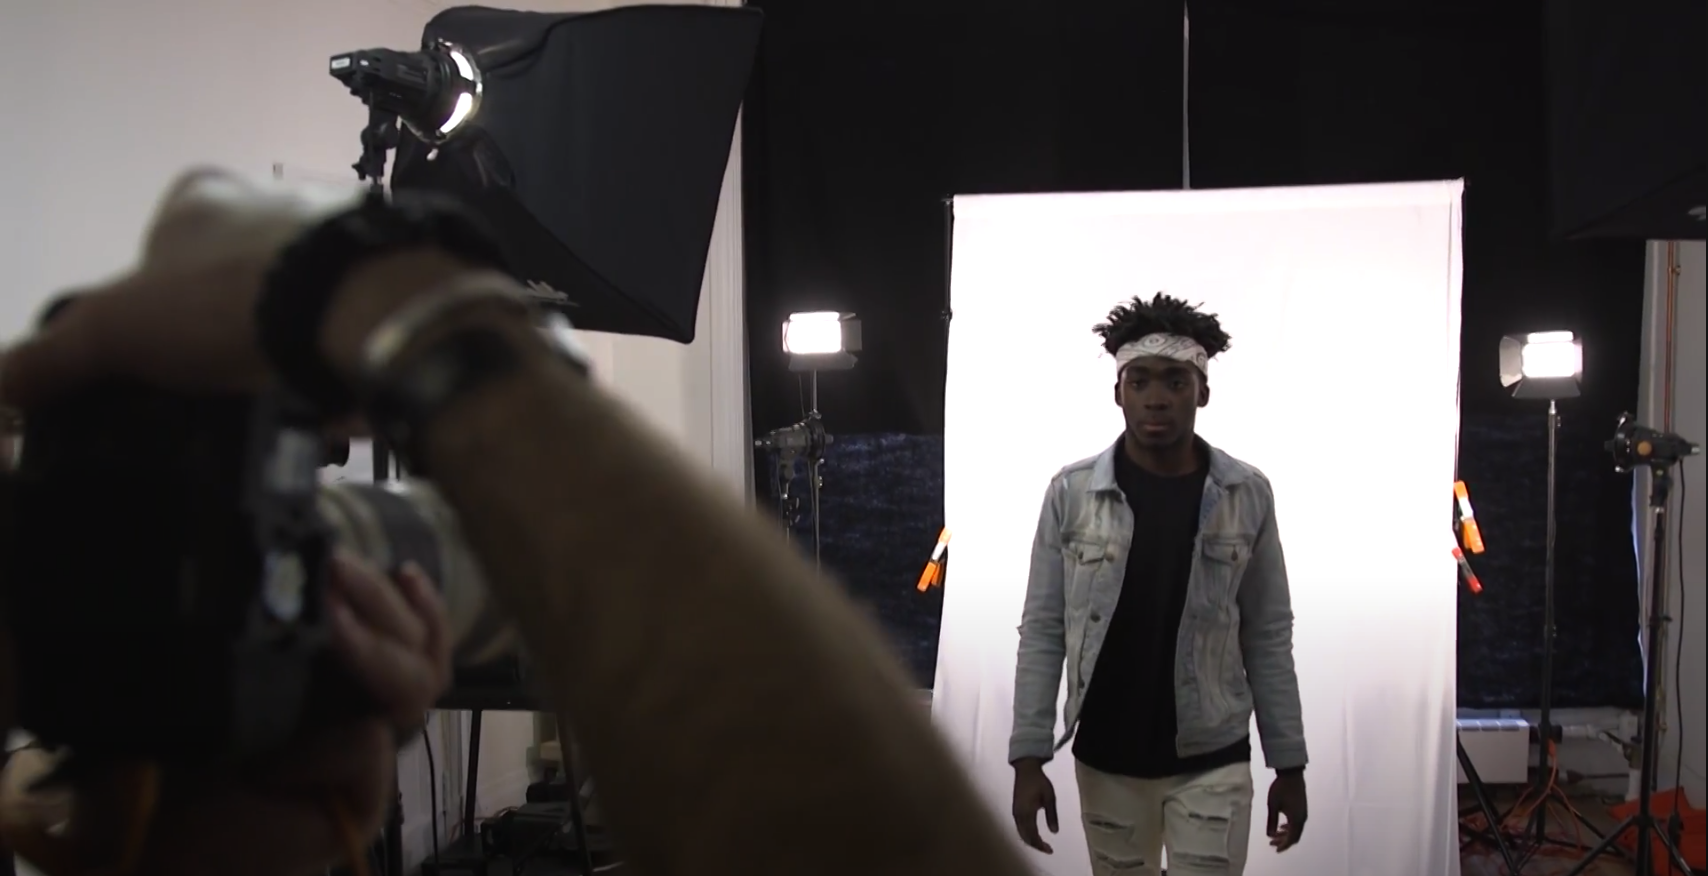
Before we talk about any specific lighting style, we should talk about typical 3-point lighting. A good start to any studio lighting setup, is having three main sources of light set up around your subject. Each of these 3 lights serves a different role, but together they should help you construct a more dynamic image.
The first and main light is called the key light. The key light usually lights up the front of your subject, and brightens that subject to help them stand out from the background. This is usually your main light source. Your second light is the fill light. Since your key light often creates shadows across your subject’s face, you use the fill light to supplement some of those shadows so you can see more of their face. Third, we have the back light. The back light is usually used to light up your subject from behind and add a little more depth to your image. Often the back light creates a subtle “halo” of light on the edges of your subject, separating them from their surroundings. When you use all these lights together you can create a number of engaging visual looks.
Soft Light
One basic lighting style is “soft” lighting. Soft lighting means that there is a lot of light, evenly spread out across a subject, and usually their surroundings. A good natural example of soft lighting would be a cloudy day, or a bright sunlit room. To achieve soft lighting, you usually want your key light just above your camera, or slightly off to the side. Your fill light should even out all the shadows, and create an even brightness on the whole subject. In this scenario you can use your back light to subtly add depth to your subject, or you can use it to light the background. This lighting style is great for light hearted, or happy material like weddings, senior portraits, or client testimonials.
Hard Light
In contrast to soft light, there is hard light. Hard light is when you add shadows to your subject to convey depth and drama. To achieve hard lighting, move your key light off to one side of the camera and higher up, so that the light comes down across your subject’s face. If you move the light too high, you’ll create a shadow over their eyes, but if you move it too low you’ll light up the bottom of their chin, nose, and eyebrows. This means it’s important to find the right height. Next, you want to either dim, diffuse, or turn off your key light so that the shadows are prominent. The shadows don’t need to be pitch black, but you want significant contrast between your highlights and shadows. For your back light you want to light up one side of your subject’s back, either to match the lighting from the front, or contrast it. Hard light is great for dramatic scenes or for a more “cinematic” look to your images.
Split Lighting
The next technique is split lighting. For split lighting you can remove your fill light entirely, and shift your key light so that it is 90 degrees from your subject’s face, lighting up only half of their face. This creates a really dramatic shadow, splitting their face into half light, and half dark. This lighting technique is useful for intense moments, or when you want to convey a character’s decision between two choices.

There are lots of different variations of these lighting techniques, along with many more styles that you can try, but this is a basic guide to get you started. Check out some of our own video and photo work to see how we light our projects. Additionally you can contact us for help with your own project.